
Huidu HDSet Download – Setup & Configuration Guide
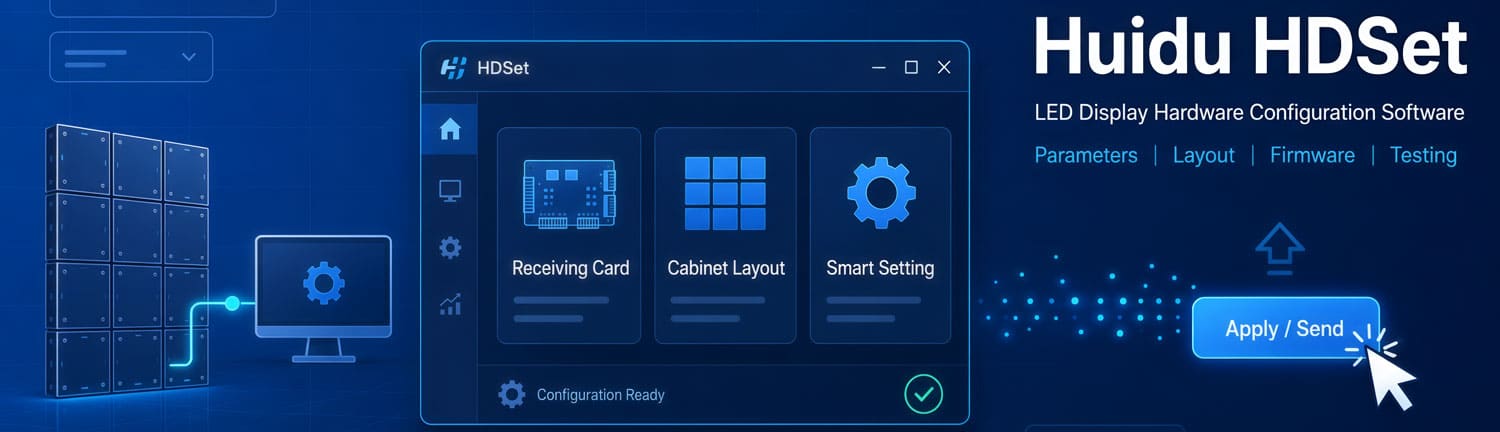
Huidu HDSet handles all the hardware configuration: screen resolution, receiving card parameters, cabinet layout, firmware updates, and more. Without it, the LED screen simply won’t display anything correctly.
This guide walks you through the full process. You’ll find the download link for the latest version, step-by-step installation instructions, and a detailed breakdown of every major function.
1. What Is Huidu HDSet Software?
Huidu HDSet is a hardware configuration tool developed by Shenzhen Huidu Technology Co., Ltd. It works with Huidu’s full-color LED control systems — both synchronous and asynchronous types — to configure the display hardware before any content starts playing.
The simplest way to think about it: HDSet sets up the hardware. HDShow handles the content. You always run HDSet first.
So what does the Huidu HDSet software actually let you do? Here’s the full picture:
- Connect to your Huidu controller via USB and detect it automatically on startup
- Set screen resolution and frame capture mode (60Hz or 30Hz)
- Configure receiving card parameters — including refresh rate, grayscale, DCLK frequency, phase, and HUB settings
- Define the cabinet layout and connection relationships across network ports
- Run Smart Setting to identify unknown LED module parameters step by step
- Upgrade firmware for both sending cards and receiving cards
- Test the display with color, gradient, scan, positioning, and aging tests
HDSet is not a content management tool. There are no playlists, scheduling features, or media editors here. Its job is purely hardware configuration. Once the screen is running correctly, you move to HDShow for everything else.
2. Compatible Controllers
HDSet doesn’t work with every Huidu controller. It’s designed for Huidu’s synchronous full-color systems. The models that connect via USB are:
Sending cards: T901, T902
Video processors: VP210, VP410, VP620, VP820, VP1220, VP1620, VP1240, VP1640, VP1640A
Either way, the connection process is the same — plug in the USB cable, open the software, and HDSet finds the device automatically.
Heads up on the cable though. Huidu controllers don’t use a standard USB cable — they need the dedicated one that comes with the unit. If you connect your device and nothing shows up in the left panel, that’s almost always why. Check the cable before anything else.
Once detected, the controller shows up in the left panel, split into synchronous and asynchronous sections. Most configuration work in HDSet — receiving card parameters, connection settings, firmware — happens in the synchronous card area.
3. Download Huidu HDSet Software and User Manual
If you’re working with Huidu controllers, you’ll need the HDSet software to get started. But finding the right version-and a proper user manual-can sometimes be harder than expected, especially if you’re new to the brand or working on a tight deadline.
Instead of digging through outdated links or secondhand downloads, there’s a faster way.
You can download both the latest HDSet software and its user manual directly from LedInCloud – LED Screen Cloud Platform. HuiDu Resource Download page is set up for technicians and LED screen users looking for a clean, reliable download without extra steps.
4. How to Install HDSet?
There’s not much to the installation. Double-click the .exe file, follow the prompts, and you’re done in a few minutes.
Here’s the full sequence:
Step 1: Download the HDSet installer from LedInCloud’s Huidu resource download.
Step 2: Double-click HDSet.exe and follow the on-screen prompts. Default settings work for most setups.
Step 3: After installation, connect your Huidu controller to the computer using the dedicated USB cable.
Step 4: Open HDSet. The software automatically searches for connected devices — no manual scan needed.
Step 5: When the controller is found, it appears in the left panel. Synchronous cards and asynchronous cards are listed in separate sections.

One thing to check once the software opens: at the bottom right of the main interface, there’s a toggle between “The original process” and “New Process.” The default is Original Process. If you’re not sure which one your setup supports, leave it there for now. Section 5 covers the difference and how to check which applies to your controller.
5. Original Process vs New Process
When you open HDSet, there’s a toggle at the bottom right of the main interface — “The original process” or “New Process.” It’s easy to overlook, but the choice affects how your configuration files are saved and which features you can actually use.
5.1 Original Process
Receiving card parameters and connection settings are sent together and exported as a single file. It’s the simpler of the two workflows, and it works across all supported controllers with no additional firmware requirements.

5.2 New Process
Parameters and connection settings are sent separately — two independent files. That separation is what unlocks a set of advanced functions that aren’t available in the Original Process:
- Data group exchange wizard — fixes scrambled module output after Smart Setting
- Designated receiving card parameter locking — locks specific receiving cards to specific settings
- Mapping function — visually identifies where each receiving card sits on the physical screen
- Network port backup — configures failover between ports, or between two sending cards
- Box construction — supports special-shaped screens, cross screens, and asymmetrical multi-open layouts

5.3 Does your setup support New Process?
Three conditions need to be met before switching:
- HDSet software version 2.1.0.3 or above
- Sending card FPGA firmware that supports New Process
- Receiving card firmware V22.xx.xx.xx or above — cards below V22 can’t be mixed in the same setup
To check condition 2, look at the Device Info panel on the HDSet main interface. Find the row labeled “New Process.” A green checkmark means it’s supported. A cross (✗) means you’ll need to upgrade the sending card’s FPGA firmware first.
For most standard single-screen setups, Original Process gets the job done. But if you’re working with complex layouts, rental screens, or need port failover, New Process is worth the setup.
6. Key Settings Explained
After opening Screen Configuration, you’ll see three tabs: Send Card Parameters, Receive Card Parameters, and Connection Settings.
6.1 Send Card Parameters
Set your screen resolution and frame rate here. 60Hz is standard. 30Hz is available if you need a higher resolution load — one RJ45 port handles up to 1280×512 at 60Hz, or 1280×1024 at 30Hz.
Auto-brightness and audio transmission are also in this tab, but both require Huidu’s Y1 multi-function card. Without the hardware, the software options do nothing.

6.2 Receive Card Parameters
This tab has the most settings, and most of them you won’t need to change from defaults. The ones that actually matter:
Refresh rate and grayscale are the two that affect image quality most visibly. Higher refresh rate means a more stable image — important if the screen is being filmed. Higher grayscale (up to 65536) means smoother gradients and better detail in dark content. The tradeoff for both: higher values reduce brightness efficiency.
DCLK frequency is the one to look at when you see a flash point. For general-purpose chips, 17.86MHz or 15.625MHz is typical. If a flash point appears, lower DCLK by one level and check again.
Phase is the next thing to try if the flash point persists. Small adjustments usually do it.
HUB settings must match your receiving card. Get this wrong and the display will look broken in ways that are hard to diagnose. From the manual:
- R512T / R712 → HUB75-12
- C15C / C16C / C35C / C36C → HUB75-10
- R516T / R320T / R732 → HUB75-16
Everything else in this tab — priority mode, line blanking, grayscale mode — has sensible defaults. Change them only if you have a specific issue to fix.

6.3 Connection Settings
This is where you map out the cabinet layout — which cabinet connects to which port, and in what order. Set the cabinet dimensions to match your actual receiving card size, arrange the boxes to mirror the physical screen, then click Send.
If the screen was already configured before, use Read Back to pull the existing settings from the controller before making any changes.

6.4 Smart Setting
Use Smart Setting when you don’t have a configuration file for the LED module — which happens often with rental panels or older screens. It’s a five-step wizard that identifies the module’s parameters through visual tests on the physical screen.
The steps in order: basic module info → color channel identification → RGB row height → scan mode → pixel mapping. Each step shows something on the screen, and you respond based on what you see. When all five steps are done, click Reset Connection to finish.
If the output still looks scrambled after Smart Setting, run Data Group Exchange from the same tab. That usually clears it up.

7. Firmware Upgrade & Screen Testing
HDSet handles both firmware updates and display testing from the main toolbar. Here’s how each one works.
7.1 Firmware Upgrade
Keeping firmware up to date matters — especially if you’re planning to use New Process features. The most common reason New Process shows as unsupported is an outdated FPGA firmware on the sending card.
To upgrade, click the Firmware Upgrade button on the main toolbar. The interface has three tabs: Send Card, Receive Card, and Font Bank.
For the sending card: select the corresponding FPGA firmware file (.bin) for your device, then click Update Firmware.
For the receiving card: switch to the Receive Card tab, select the matching firmware for your receiving card model, and click Update Firmware.
Each product has its own .bin file. You can download the correct firmware from LedInCloud’s Huidu resource page alongside the HDSet software.
One hard rule: don’t power off the controller during an upgrade. If the process gets interrupted, the card may stop working entirely. If an upgrade fails, check the USB cable connection first. Then check whether the Y1 multi-function card is properly connected.
On passwords: in HDSet V2.0, the firmware upgrade interface requires a password — 888. In V3.5, the interface opens without one.

7.2 Screen Testing
Screen Test is used for two things: checking the display output after configuration, and running aging tests before a screen goes live. Access it from the Screen Test button on the main toolbar.
Five test modes are available:
Color — displays solid colors across the screen: red, green, blue, white, yellow, purple, and cyan. Good for spotting dead pixels or color channel issues right away.
Gradient — runs a gradient pattern across the display. Use this to check brightness uniformity.
Scanning — runs a scan pattern to verify signal routing through the cabinets.
Positioning — helps identify the display window position on screen.
Aging test — runs the screen continuously under load to check stability and heat performance before deployment.
Each mode lets you adjust grayscale value, playback speed, and window dimensions (X, Y, width, height). Hit Start once the settings are configured.

8. HDSet vs HDShow
A lot of people use these two together without really knowing what each one does. They’re both from Huidu, they’re often downloaded from the same page, but they serve completely different purposes.
Huidu HDSet | ||
Purpose | Hardware configuration | Content playback |
Controls | Receiving card parameters, cabinet layout, firmware | Video, images, text, clocks, streaming media, websites, screen capture |
Device connection | USB to controller (required) | Not required |
When to use | During setup and commissioning | After hardware is configured |
Order of use | Step 1 | Step 2 |
The sequence never changes: HDSet first, HDShow after. You can’t skip HDSet and expect HDShow to work — the hardware has to be configured before any content plays.
9. FAQs
What is the HDSet firmware upgrade password?
In HDSet V2.0, the firmware upgrade interface requires the password 888. In V3.5, the interface is accessible without a password.
What is the HDSet Other Settings password?
The Hardware Maintenance interface uses the password 168. This applies to both V2.0 and V3.5.
What is the New Process in HDSet?
New Process is a configuration workflow that sends receiving card parameters and connection settings as two separate files instead of one. It unlocks features like Mapping, data group exchange, network port backup, and box construction. To use it, you need HDSet V2.1.0.3 or above, compatible sending card FPGA firmware, and receiving card firmware V22.xx.xx.xx or above.
My device isn't being detected — what should I check?
Start with the USB cable. Huidu controllers need a dedicated cable, not a standard data cable. If swapping the cable doesn't fix it, check that the controller is powered on and that the model is on the supported list.
What does Smart Setting do in HDSet?
Smart Setting is a five-step wizard that identifies unknown LED module parameters through visual tests on the physical screen. Use it when you don't have a configuration file for the modules. It works out the color channel order, RGB row height, scan mode, and pixel data mapping.
Does HDSet work on Windows 10?
HDSet installs via a standard .exe file on Windows. The V3.5 manual doesn't list specific OS requirements. If you need confirmed system specs, check with LedInCloud directly.
10. Conclusion
The Huidu HDSet workflow is simple in principle: download, connect your controller via USB, configure the hardware in Screen Configuration, then switch to HDShow for content. Most issues that come up along the way — flash points, detection failures, scrambled output — have a fix somewhere in HDSet’s toolset.
If you have questions about specific controller setups or screen configurations, contact LedInCloud team can help directly.